| Chrysler 300 Front Brake Replacement | |
|
2009.08.15 I purchased Posi-Quiet pads, premium slotted rotors, and black caliper paint from R1 Concepts. Since I never have done a brake job before, I also purchased a Kobalt 1/2in torque wrench, CRC Brake Quiet, Counterman Pros anti-seize lube, and finally a pair of jack stands. Since I added the external air line, I also picked up an air tool set as well (if your going do a job, have the right toys, err, tools). Naturally, the first step is to put on the emergency brakes, put the car in part and jack it up. For those of you that have done car work before, you probably picked up on my first noob mistake, to loosen the lug nuts while the tires are still on the ground. In my defense, I assumed that the air gun would have been able to do the job, but since the lug nuts are torqued to 110lbs, I had to use a wrench to loosen them up and then use the impact gun to take them off. I start with the passenger side first. 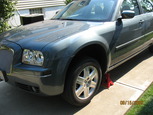
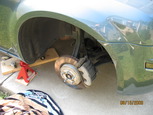

The next step is to loosen the top caliper pin and remove the bottom caliper pin. The idea is to lift the caliper up to remove the pads. In my case, I needed to use a flathead screwdriver to pry the caliper off. The brake pads should lift right out. 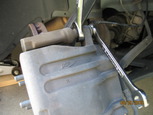
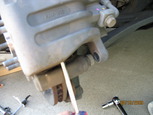

Since I am replacing the rotors in addition to the pads, I need to pull off the brake caliper by removing the top caliper pin and then removing the two caliper mounting bolts. I used a small 6 inch bungee cord to hang the caliper as to not damage the brake line. 

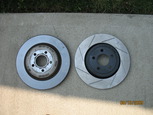
Now that the caliper is out of the way, removing the rotors is as easy as removing two retaining clips. I used a pair of diagonal cutters to cut the clips. Here is a picture of the old and new rotors side by side. 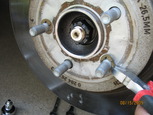
Now that the calipers are removed, I need to pull, clean, and reseat the caliper pins. The pins are seated in rubber sleeves that trap air behind them giving them spring. After a while the pins lose their spring. Being gentle enough not to tear the rubber sleeve, I remove the pins and clean them up using acetone. Then I apply high temp anti-seize lube to the pins and then slide them back into the rubber sleeves. I forgot to take the "before" pictures, but you can look at the picture of me prying the caliber up to see what they looked like before. I can now mount the caliper mount back on and torque the bolts to 85ft/lbs. The retaining clips for the rotors are not required to hold the rotor in place, the lug nuts and caliper mount will keep everything in place. 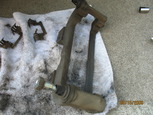
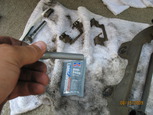

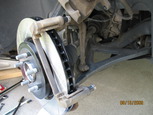
I attach the caliper to the mount with the top caliper pin bolt. I then use acetone to clean up the faces of the caliper pistons. On the brake pads, I spray some brake quiet on the back of the pads. Brake Quiet is nothing more than high temperature spray adhesive to keep the pads from vibrating when they are being used which causes the squeal. The pads need to set for 10 minutes to allow the brake quiet to dry. Then the pads just sit into place. As a side note, the spray adhesive is a little bit of a pain to work with. As you can see from the last picture, it will stick to everything, including fingers. 
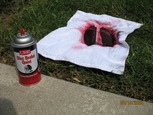
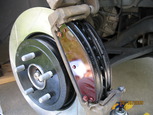
I apologize for lack of pictures for the next couple of steps. In order for the caliper to slide down onto the pads, you need to compress the pistons back into the caliper. The key to doing this is to remove the brake fluid reservoir cap and then compress both pistons at the same time using quick grips or a piece of wood and a C clamp. I have a couple of quick grips, so I used them. The real trick is to get the caliper down and not to gum up the brake pads too bad so that the adhesive still works. I fought with this for a good 15-20 minutes and thought I had ruined a piston by pushing them too far causing the piston boot to bulge. I got the caliper down and put on the bottom caliper pins and tightened both pins to 44ft/lbs. Now that everything is in place, and still worried that I ruined a piston boot, I got into the drivers seat and gave the brakes a couple of pumps. Naturally, the first pump was pretty loose, but the after that, the brakes felt pretty normal. Still worried about the boot and picturing a pool of brake fluid under the car, I was surprised to see no leaks and everything seated well. The passenger side took a little under 2 hours to do, but the drivers side only took about 20 minutes. The biggest hangups were getting the caliper pin and bolts off, fighting the brake quiet, and getting the pistons compressed (two of the quick grips I had wouldn't compress the pistons). Now that the pads and rotors are done, I am now ready to prep the calipers for paint. I got an epoxy based kit from R1 Concepts which consists of color, hardener, a can of brake cleaner, application brush, and instructions. I had originally planned to go with a lighter color, like yellow or orange (I didn't think red would look good at all), but in the end, decided to go with the black. I wanted subtle over bling. The first step is to clean the calipers up using brake cleaner and 220 grit sandpaper. After the cleaning, I then tape off the parts that I don't want painted like the caliper pin boots, bleeder cap, and brake line. 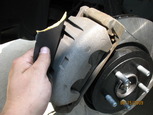

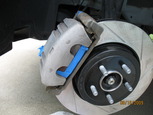
I need to mix up the paint by adding the hardener to the color. You just need to dump the harder into the color and mix. Let the color set for 10 minutes and mix again before applying the paint. The paint is thicker than enamel paint and goes on very nicely. If I had put on new calipers, I would have painted them before mounting them, but since I am using the existing ones, I needed to paint them in place. It is nearly impossible to paint the entire caliper assembled, so it comes down to getting as much as you can and making sure that you don't miss any parts that can be seen. 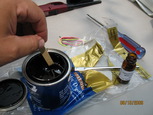
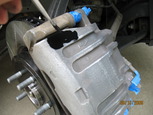
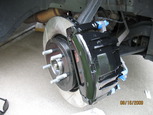
I apply two coats waiting 15 minutes between coats. This works out nicely, since it takes a good 15 minutes to paint one caliper and by the time I am done with one, the other is ready for another coat. Once the painting is done, it needs to sit for 2 hours before I can mount the tires back on and then it needs to cure for another 24 hours before driving. After two hours, I remove the painters tape and proceed to mount the tires. I ended up messing up the paint on the drivers side putting the tire back on, but the paint damage is not visible with the tire mounted. 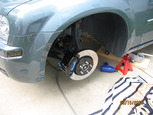
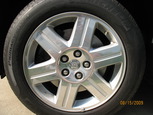

This project took a little longer than I planned, but I had a great time. I spent a little over five hours from start to finish and I think they turned out great. Back to Chrysler Projects |
|


