| Chrysler 300 Color Match Steering Wheel Inserts | |
|
2011.07.09 With the mod fund cut down due to the pending home addition, I have turned to doing some low budget mods to the interior. As a start, I focused on the steering wheel inserts. No matter what trim level or color is selected for the 2005-2007 Chrysler 300, you got silver colored inserts. For the most part, they look pretty out of place, as no other parts in the car are that color. So here is what I did to fix them. Below is a picture of a typical 300 steering wheel (not mine). 
I made the mistake of starting this project without planning on documenting it, so I do not have any pictures of the insert removal process. To sum it up, I just used a pick and small jewelers screwdriver to gently pry them out. The inserts just snap into place. The key is to work from the outside edge of the insert and as you lift the end. pull the insert away from the center of the steering wheel. 
With the inserts removed, they need to be scuffed to help the paint stick. I used a grey buffing pad (synthetic steel wool) and rubbed each insert until the gloss was gone. 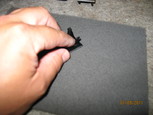
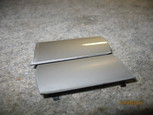
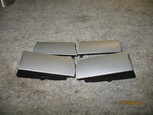
With the gloss gone, I cleaned them up further using Acetone. Of the four inserts, the upper two are a bit deeper (to accommodate optional radio controls). I used some painters tape to keep the paint off. With the lower two inserts, I took some scrap 2x4 pieces and drilled holes so they would sit and not move around when applying spray paint. 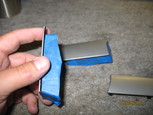
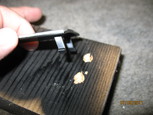
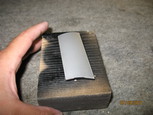
I had purchased adhesion promoter, PPK color paint, and clear coat from Automotive Touch Up when I did the exhaust install. I needed the paint for the rear bumper bezels and had plenty of paint left for this project. 


Paint procedure as follows. Lay down a light coat of the promotor and let sit for 5 minutes. Then follow the promotor with several light coats of paint waiting 5 minutes between each coat. Since my OEM color (PPK/Magnesium Pearl) has metal flakes and a pearl base, it was very important to keep the coats very light (if not the end color will be substantially darker). I applied a total of 4 coats of base color to the inserts. 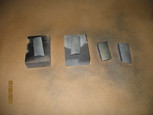
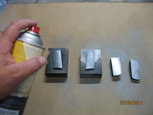
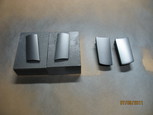
Once the base color is applied and has sit for 30 minutes, I then applied the clear coat. I used several light coats and waited approx 5 minutes between each coat. After 4 coats, I let the inserts sit overnight. 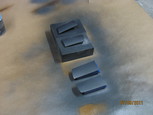
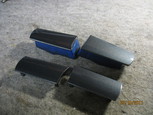
2011.07.10 I made the mistake of trying to wet sand one of the inserts to smooth out the finish which resulted in having to repaint the insert. Worst part about it was that I knew before hand that I couldn't wet sand this kind of clear coat. Oh well, lost a day repainting the one insert. 2011.07.11 I ended up taking the inserts along with polishing compound, swirl remover, wax, and polishing pads into work to finished them up during my lunch break. Progressing up from polishing compound to swirl remover to wax resulted in a glass like finish of the inserts. Here is a picture of the stock inserts and the finished product: 
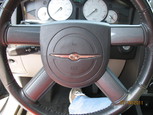
Next is to do the same thing to the radio bezel. I also need to do the exterior B and C pillars as well. Back to Chrysler Projects |
|


