| Article ID | 20020313A |
| Subject | How to install FreeBSD...My way! |
| Concept | A walkthrough of my typical FreeBSD install procedure |
| OS | FreeBSD |
| Page 3 |
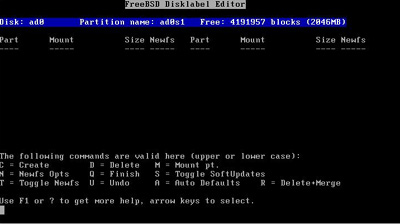
This is the label editor. Keep in mind that I am just using a 2 gig virtual for this document. I will create 4 mount points and a swap partition. FreeBSD needs the swap to be 2 times the system memory. Since my Virtual Machine only has 32 megs of ram, the swapfile will be 64 megs in size. Depending on the size of your drive, you may want to plan ahead for memory upgrades and make the swap a little bigger, sometimes 4x the memory. Press "C" to create a slice. I start with the root slice first, creating a 512 meg slice. I will select filesystem and then enter "/" as the mount point (root). With drive sizes typically 10 gigs or bigger, I will typically create a 1 gig root slice. |
|
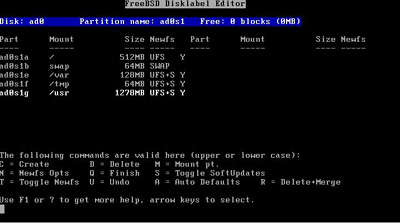
I will repeat the procedure for each mount point. I create a root, swap, var, tmp, and usr in this order. The idea being that root, swap, var, and tmp will be pre-determined sizes and /usr will be the remainder of the disk. If this box will be a mail server, you will need to make sure /var can handle the mail load. For a 10 gig or bigger disk, I will give 1 gig to /, swap will get 3x memory if less than 512meg, tmp will get 512 megs, /var will get 2-4 gig depending of disk size, and the remainder will go to /usr. For most installations, this will work fairly well. Some people will say that 1 gig is too much for /, but this is my preference. Your mileage may vary! |
|
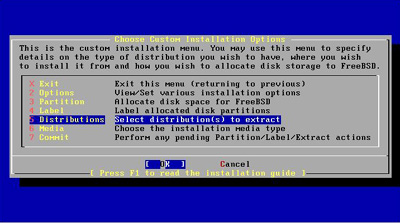
Once the slices are configured, press "Q" to write the changes and exit back to the Custom Installation Menu. We will go down the menu to the next item, which is Distributions. Select Distributions and press enter. |
|
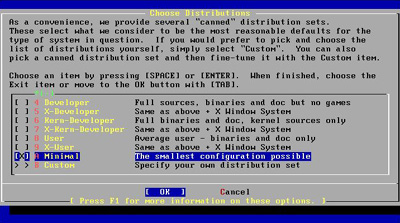
FreeBSD's installation is like a typical Linux install. This is where you can select a preconfigured package install. My preference is to install just the base system and add programs as I need them. This way I have only what I need on the computer. I will page down and select "Minimal" install, tab to "OK", and press enter. |
|
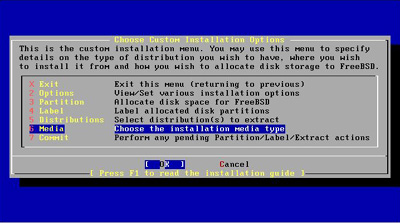
Once again, you will be back to the Custom Installation Menu. The next item on the list is to select the installation media. Select "Media" and press enter. |
|
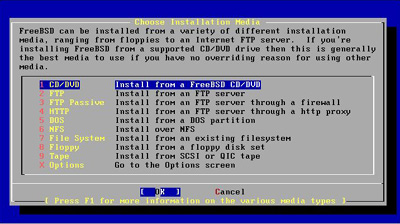
At the Choose Installation Media screen select "CD/DVD" (yes, FreeBSD is now available on DVD, btw). You also have just about every other way of installing FreeBSD. |
|
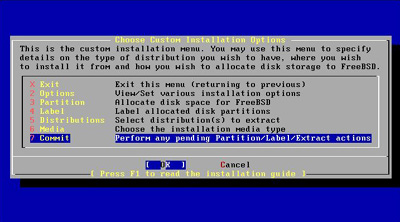
Now that the installation media has been selected, we can now select "Commit" to install FreeBSD. |
|
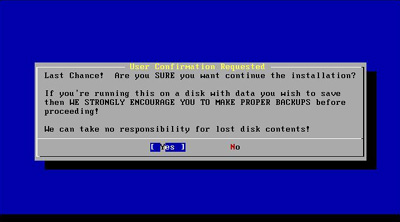
A final warning to let you know that the disk will be re-partitioned and the OS will be installed, not too mention to cover their butts if you screw up :) |
|
|
©2004-2020 Paul Boehmer |


 |