| Wiring Installation |
|
While waiting for parts to be ordered or come in, I decided that I could start wiring up the fans on the monolith case. The EYE-2020XB Case came with two generic 120mm fans. The initial plan was just to use these two fans, that is until I managed to scrounge up this uber-sweet 24v all aluminum made in Germany 120mm Fan. The fan came out of a dead Nortel CVX-1800 power brick and generates enough noise to drown out a normal conversation. This, of course, is when the fan is running at 24v. When running the fan at 12v, its still noisy, but not nearly as bad and still manages to move a whole'lota air. So now the plan is to use the stock 120mm fan intake in the front, two 80mm intake fans in the rear-bottom of the case and to use the monster 120mm fan as an exhaust fan. |
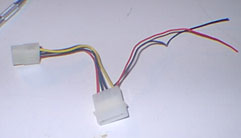
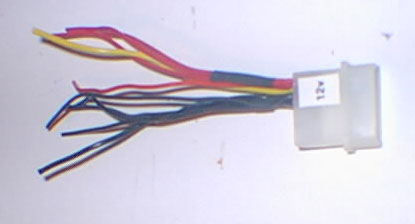
| In the future, Monolith will have a fanbus controller to control each fan. But right now I am going to have each fan run at the full 12v. To do this without a fanbus, I took a molex fan connector that I had laying around and removed the male end. Now I have a female end with ground, 5v, and 12v ends. I then remove the 5v leads from the molex connector and trim the remaining leads to identical length. |
|
|
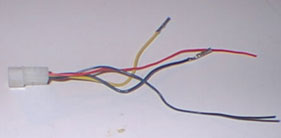
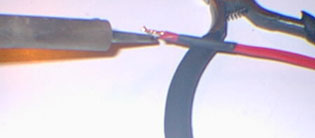
I then remove the 12v line from the molex connector can cut 3 more leads to be soldered to the molex pin. Ideally you want the 12v wires to be yellow, but I only had red wire laying around. I used some heatshrink tubing to keep things together |
|
|
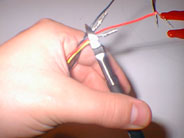
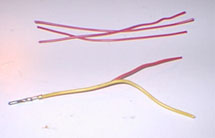
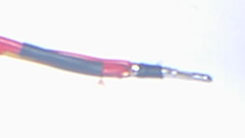
Once the 3 leads are soldered together, I then solder the 3 leads to the molex pin. I cover the solder joint with more heatshrink tubing to keep it clean. I repeat the above procedure for the ground wires. Now I have a female molex connector with 5 pairs of 12v lines. Since I used red wire for the leads, I marked the molex connector indicating that the leads will be carrying 12v. |
|
|
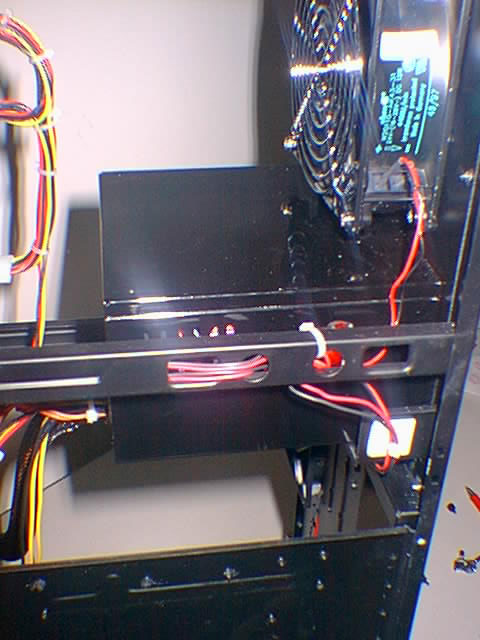
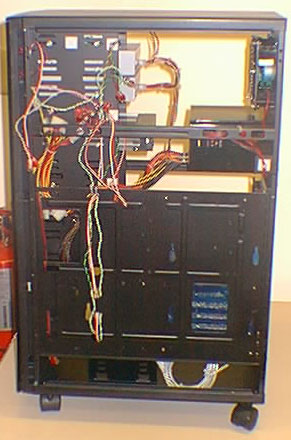
With the window kit, just about all of the inside of the case will be visible. There is nothing worse than a case with a window mod showing off the rats nest of wires inside. What we can do, however, is route the wires along the other side (not visible) of the case, hiding them almost completely. |


|
|
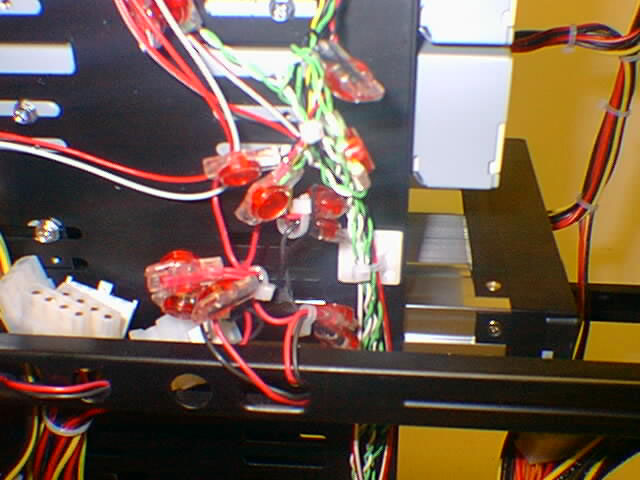
Any unused cables from the powersupply will be tied off behind the 5.25" drive bays. The fan wires will terminate on the side of the case behind the 5.25" drive bays and motherboard backplane, this is where the fan tail I created above comes into play. I use 3M ScotchLok crimps to tie the fan wires to the fan tail. The ScotchLoks are a quick splice crimp used by telcos and other electronic applications. This will be a semi-permanent connection until the fanbus arrives. |

|
|
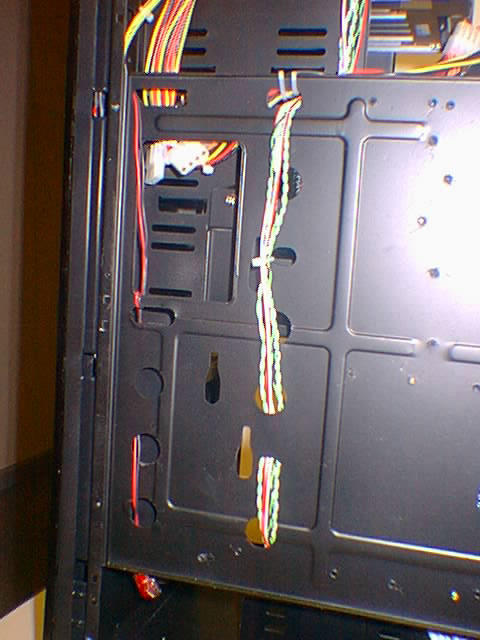
For the motherboard connections to the frontpanel, all of the stock wires are discarded and new ones are created in order to route the wires neatly behind the motherboard backplane. Once all of the wires are in place, I use a bunch of tie wraps to clean things up a bit. |

|
|
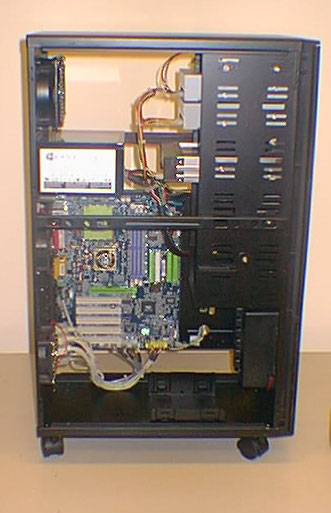
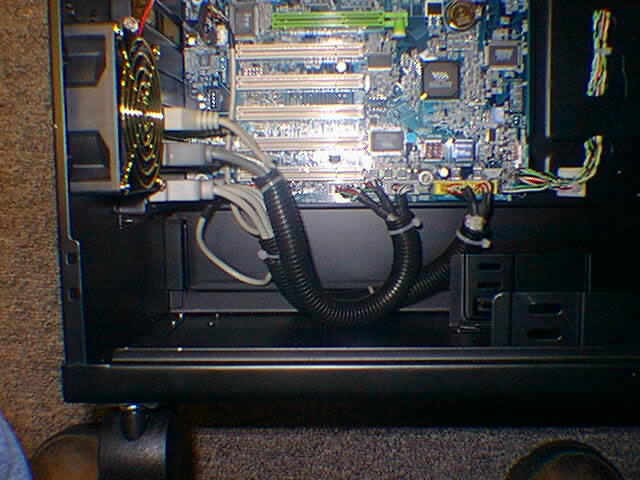
Here is the shot with the case wired up from the visible side. The next step was to get some 1/2" black split loom from Radio Shack. All visible power cables from the power supply to the drives are covered. The exception to this was the Floppy power connector which I ended up shrink wrapping, not pictured. |

|
|
The next step was to clean up the USB, Firewire (IE1394), and Digital output wires. I originally had the plates the stock silver, but ended up giving them a nice coat of satin black. I added .5" black split loom to each of the wire sets to clean up further. |

|
Back to Monolith |
|
©2004-2020 Paul Boehmer |


 |